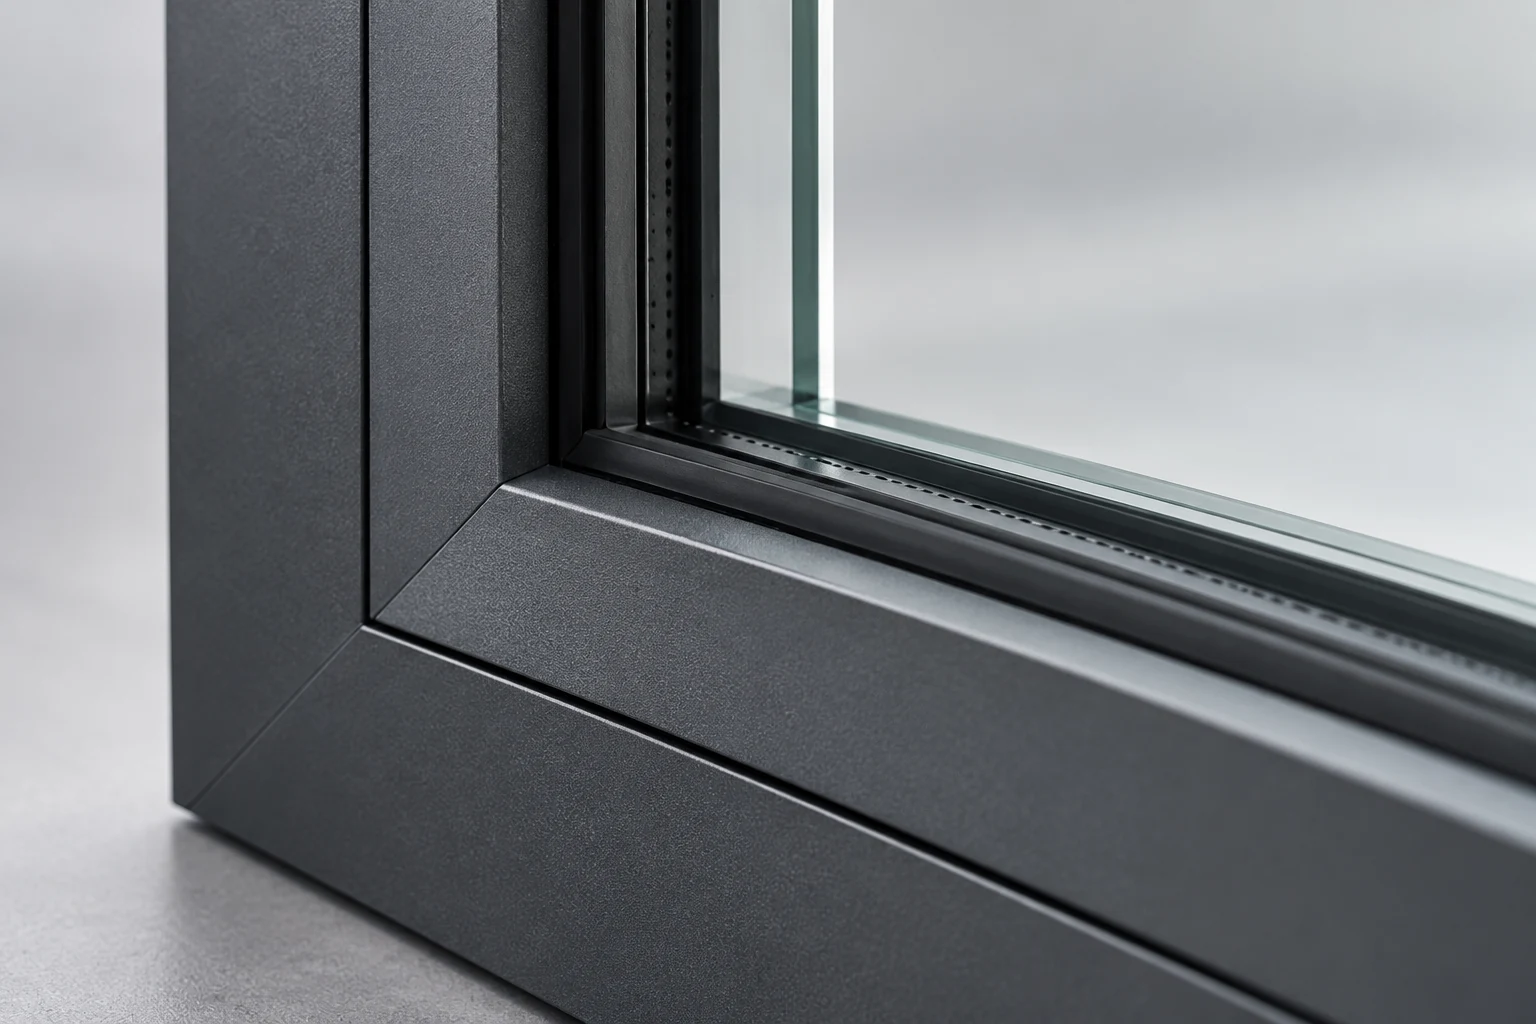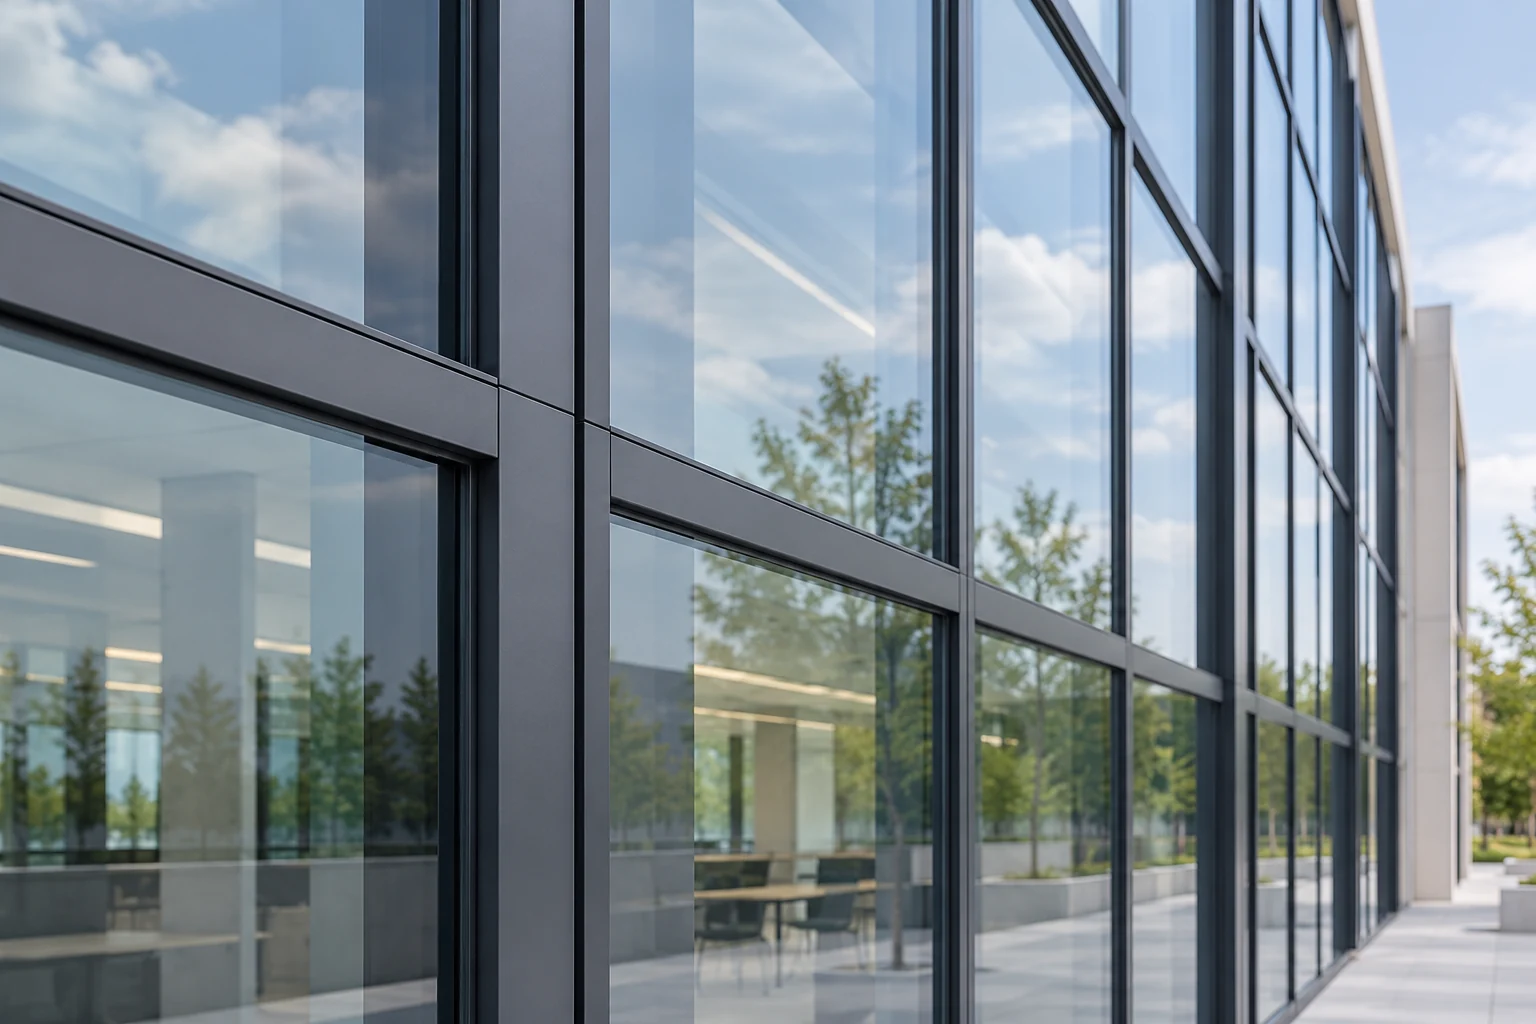
A useful sample visit turns what you see and touch into questions for the actual project specification.
Make the sample relevant to your opening
A sample can tell you more than a photograph about the way a window operates. Start by asking what it demonstrates: the system family, profile, opening arrangement, glazing, hardware and finish. Then compare that description with the proposal for your project.
A small demonstration unit may use a different arrangement or glass build-up from the final opening. That does not make the visit unhelpful, but the differences should be clear. Use the sample to understand the concept and the written specification to identify what will be supplied.
Move the sash through its intended travel
For a sliding system, move the leaf along its track and bring it back to the closed position. Notice the handle position and the way the leaves meet. Discuss the panel size, weight and roller arrangement proposed for your own opening.
For a hinged system, check the swing and the space it needs. Ask which opening concepts are compatible with the selected product. Think about furniture, curtains, screens and safe access to the handle. A sample helps you picture daily use; it does not establish every project limit.
Your hands-on sample checklist
Use this list during your project discussion. Your choices stay on this page.
Try the handle and locking operation
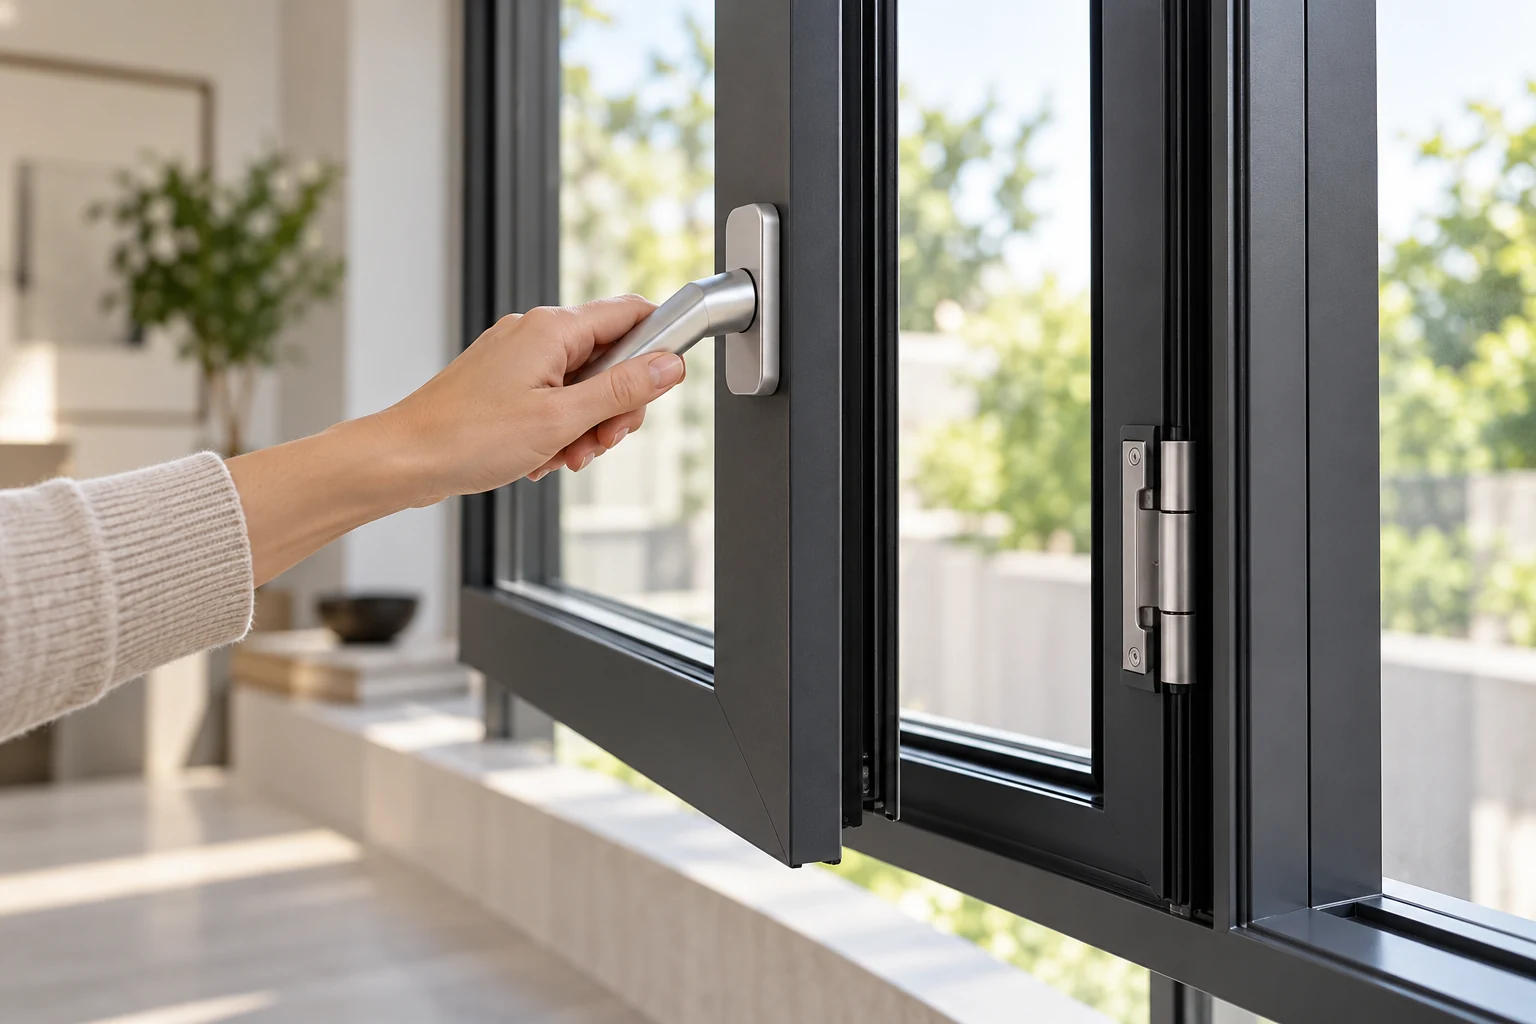
Operate the handle and lock as demonstrated. Ask how the sash is brought into its intended closed position and what the visible hardware controls. If a mechanism feels unfamiliar, ask the team to show the sequence again.
Discuss the hardware named in your quotation and how it can be adjusted or serviced. Repeatedly using a window is a physical experience, so the handle and mechanism deserve attention alongside the appearance of the frame. Avoid forcing a component that is not operating as demonstrated.
Look at seals, screens and the meeting points
Ask where the seals or brushes are intended to meet when the opening is closed. Look at the relationship between the moving sash and fixed frame. The aim is to understand the complete assembly, not to judge performance from the appearance of one gasket.
If a screen is included, open and close it. Check access, the way it meets the frame and how it can be removed or maintained where applicable. A neat-looking sample screen should still be identified in the quotation so the accessory is not left to assumption.
Compare glass and finish in useful light
View colour and texture samples in daylight where possible and consider them beside the materials in your project. Screen previews are useful starting points, while physical samples support the final decision.
Ask which glazing is in the sample and which glazing is proposed for the project. Clear, tinted, reflective and privacy treatments can change the experience. Confirm the complete glazing build-up rather than relying on the visual impression or the phrase “double glazed”.
Leave with a clearer written brief
Write down the choices you liked and the questions that remain. Confirm the system, profile, panel layout, finish, glazing, hardware and screens you want discussed. Ask who will confirm dimensions, install the opening and provide support after handover.
A visit should improve the conversation about your project. It should not replace site measurements, technical review or the agreed documents. Contact the team to discuss sample availability and the next step for your project, rather than assuming a particular sample or showroom appointment is always available.
Questions to leave with.
- The sample and the proposal have been compared.
- Operation and hardware questions are answered.
- Screens, glazing and finishes are identified.
- Remaining questions are recorded for the team.